The RØDECaster Video S, explained without the jargon.
A small black slab with a touchscreen that wants to be your entire video studio. It almost is one. This guide walks through every port on the back, what plugs into each, and how to get from "still in the box" to "live on screen" without a panic attack.
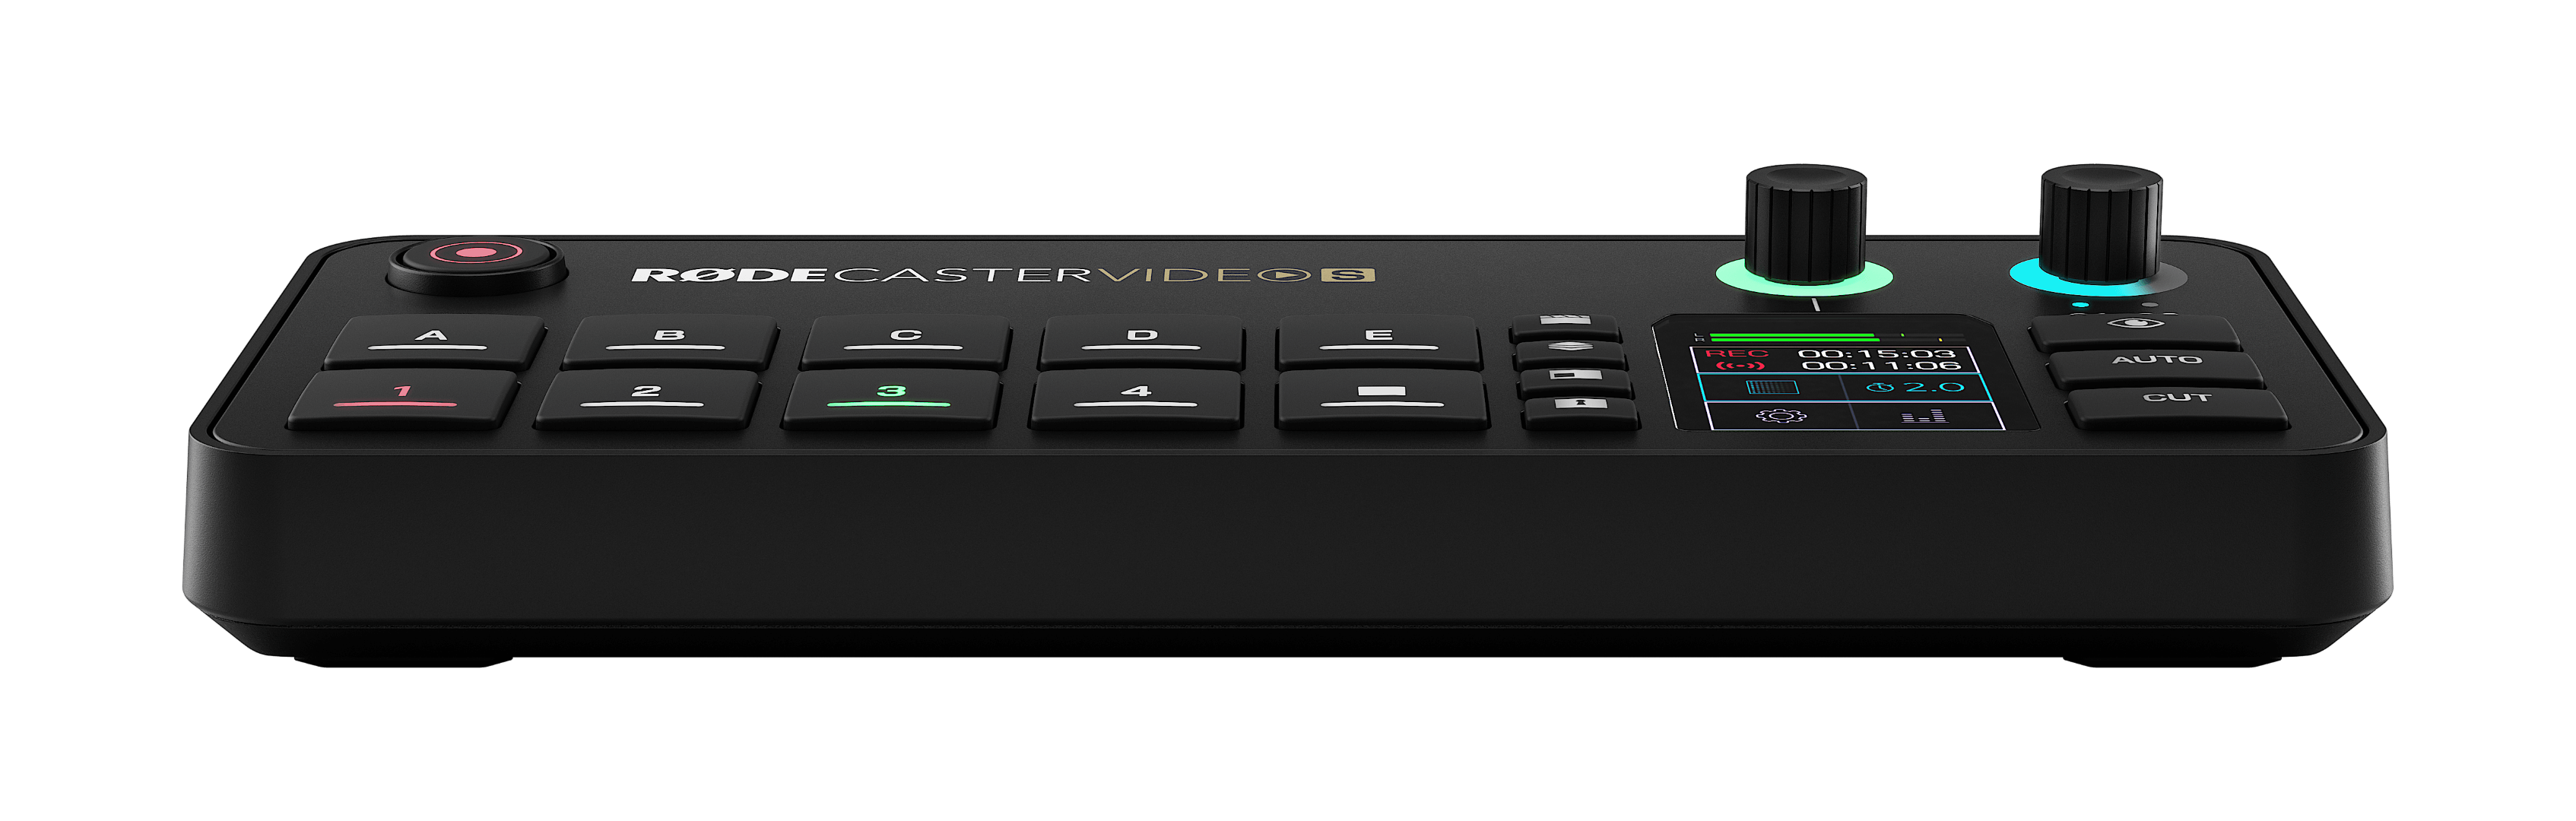
It's a small TV station you can fit on a desk.
The RØDECaster Video S is what broadcast people call a production switcher — a box that takes signal from several cameras, lets you pick which one the audience sees, and sends the result out to a recording, a stream, or a meeting app. The "S" model is the compact version of the bigger RØDECaster Video. Same idea, fewer ports, smaller footprint, lower price.
It also handles audio — microphones, line-level sources, USB audio — mixed together with the video, the way a small TV station's control room would. If you've ever watched a podcast that cuts between two camera angles with the audio staying perfectly in sync, this is the kind of box that does it.
Cameras and microphones go in; one clean video-and-audio feed comes out, with a touchscreen telling you what's happening at all times.
Every socket on the back, in plain English.
Here's the full inventory. If you're holding the unit and looking at the back, every cable you'll plug in connects to one of these:
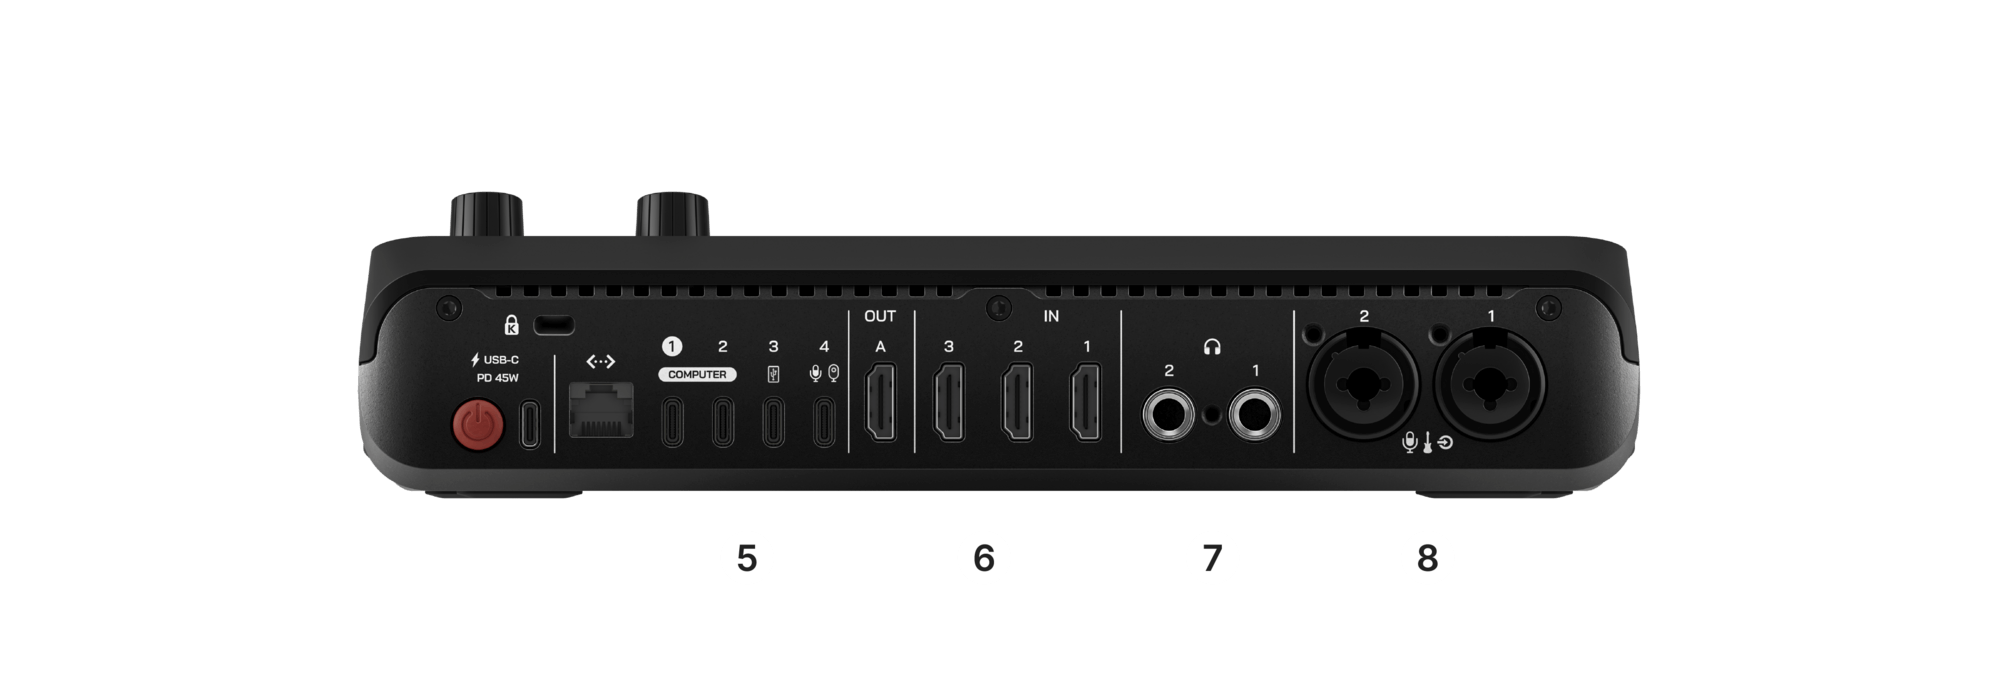
The Video S has three HDMI ins, not four. The full RØDECaster Video has four. If you find yourself counting cameras and coming up short, you've found the one real spec difference between the two.
What plugs into what, and why.
This is the question that trips up most people on day one: "I have a camera. Where does it go?" The answer depends on what kind of cable comes out of the camera. Here's the cheat sheet:
Sony A7-series, Canon R-series, Fujifilm X-series, Panasonic Lumix, Nikon Z-series — basically any modern mirrorless with a "clean HDMI out." Cable: micro-HDMI or mini-HDMI to full-size HDMI.
Sony, Canon, Panasonic camcorders, Blackmagic Pocket Cinema, even GoPro Hero (with HDMI media mod). Cable: usually full-size HDMI to full-size HDMI.
A laptop's HDMI out, an iPad with a USB-C-to-HDMI adapter, a PS5, a Switch, an Apple TV. If it has HDMI out, it works as a video source.
Logitech BRIO / C920 / StreamCam, Insta360 Link, Anker PowerConf, Elgato Facecam — any UVC webcam that can do uncompressed 1080p. The webcam must support YUV / NV12, not only H.264. What does that actually mean? →
Elgato Cam Link 4K, Magewell USB Capture, Blackmagic Web Presenter. Useful if you're out of HDMI ports and have a 4th camera you want in.
RØDE's free Capture app turns an iPhone into a 1080p UVC webcam over USB-C. Surprisingly good. Plug iPhone → USB-C cable → RCV-S USB-C IN, open the app, and you have another camera.
PTZOptics, OBSBOT, Newtek Spark — pan-tilt-zoom cameras that broadcast over the network. The RCV-S can pull up to four NDI streams simultaneously over Ethernet.
Any NDI-capable software (OBS with NDI plugin, vMix, Zoom Rooms) on your network can be brought in as a video source. Means another computer in the next room can be a "camera" too.
RØDE keeps a list of specifically tested webcams on their support site. The general rule, though, is that any webcam advertised as UVC-compliant and capable of uncompressed 1080p will work. If yours doesn't, it's almost always because the webcam can only output compressed H.264, not uncompressed YUV/NV12 — check the webcam's spec sheet for "uncompressed" or "raw" video output.
From "still in the box" to "first picture on screen."
The fastest way through. Don't try to learn every feature on day one — just get one camera showing.
- Plug power in last. Connect everything else first — one camera into HDMI IN 1, one microphone into XLR/TRS 1, headphones into the headphone jack, an HDMI cable from HDMI OUT to a TV or monitor. Then plug power in.
- Wait for the touchscreen. The RØDE logo appears, then the home screen. If the screen stays black, double-check the power adapter is the supplied one.
- Tap the camera tile on the touchscreen. You should see your camera's picture. If it's black, the camera probably isn't outputting clean HDMI — check the camera's video-output settings. (Sony hides this under "HDMI Info Display.")
- Tap your microphone channel. Talk into the mic. The level meter should move. If not, the channel is muted, the gain is at zero, or the mic needs phantom power (toggle the +48V switch on the touchscreen).
- Plug HDMI OUT into a TV. You should now see your camera and hear your mic on the TV. Congratulations, you have a one-camera studio.
- Stop here for the day. Do not try to learn scenes, transitions, chroma key, and streaming all at once. Build muscle memory on the basics, then come back tomorrow.
Things that look broken but aren't.
- Black screen on a camera input. Almost always the camera, not the RCV-S. Most cameras put HUD overlays on the HDMI feed by default — find "Clean HDMI" or "Info Display: Off" in the camera's menu.
- The touchscreen feels laggy. Usually a firmware version behind. Connect to Wi-Fi, open the RØDECaster app, check for updates.
- The webcam shows up but the picture is choppy / weird color. The webcam is sending compressed video. Check its driver settings for an uncompressed (YUV / MJPEG) output mode.
- HDMI 4 doesn't exist. It's not broken. The Video S has three HDMI ins. The full RØDECaster Video has four. Use the USB-C input as your fourth source.
- "Why is everything 1080p, where's 4K?" The Video S works at 1080p internally. If you need 4K cameras, they need to downconvert to 1080p out. Don't take this personally — 1080p is still excellent for streaming and most online video.
Once the one-camera setup is comfortable.
In rough order of usefulness:
- A second camera and the cut transition. Two cameras, tap to switch. This alone makes a podcast look 10× more professional.
- Audio routing. Learn the difference between the mix that goes out to the audience and the mix that goes into your headphones. The RCV-S can keep them separate, which is the whole point of two headphone outputs.
- Scenes and layouts. Pre-built screen arrangements (camera-only, camera-with-pip, side-by-side). The touchscreen makes these one-tap.
- Recording vs. streaming. The RCV-S can do both at once, but streaming wants a stable internet connection. Wired Ethernet beats Wi-Fi every time.
- Pairing it with an ATEM Mini Pro. If you outgrow the RCV-S's switching but love its audio, you can run them together — that's covered in the tandem guide.